
Photo Editing for Instagram and Social Media: Secrets to a Stunning and Professional Feed with FREE Apps (Step by Step)!

Do you want your Instagram, TikTok, or Facebook photos to not only look good, but also stand out, attract more attention, and reflect a professional style? We'll show you how to edit them from your phone or computer with free apps and simple techniques to achieve a striking and cohesive look that will boost your online presence.
Some photography purists might argue that a photo should be perfect "in camera." While this is a laudable ideal, the reality of social media is different. Editing serves several crucial functions:
- Overall Aesthetic Improvement: Subtle adjustments to brightness, contrast, and color can take a photo from “just right” to “stunning.”
- Correcting Imperfections: Even with the best technique, sometimes the exposure isn't perfect, the colors look a little off, or the framing needs a little tweaking. Editing allows you to polish these details. Not post-processing your photos is a common mistake that can leave your images looking bland.
- Creating a Coherent Visual Identity: To stand out in a sea of content, it's vital to have your own style. Editing allows you to apply a consistent aesthetic to all your photos, making your Instagram feed, for example, look harmonious and professional. This is essential for branding.
- Optimizing for the Medium: Each social network has its preferred formats and visual "language." Editing helps you adapt your images to look optimal on each platform.
The vast majority of social media editing is done directly on your mobile phone, thanks to the power and versatility of the apps available. Here are some of the best free options that will allow you to edit like a pro:
- Snapseed (by Google): Available for iOS and Android, Snapseed is one of the most comprehensive and acclaimed free editing apps. It offers a wide range of tools, from basic adjustments (brightness, contrast, saturation) to advanced features like curves, selective editing (to adjust only parts of the image), double exposure, spot removal, and a wide variety of customizable filters. Its interface is intuitive and allows for very precise control.
- VSCO: Popular among photographers and influencers for its filters (called presets) that emulate the aesthetics of analog film, VSCO is ideal for those seeking a more artistic, cinematic look. In addition to its popular filters (many free, others paid), it offers fine-tuning tools to fine-tune exposure, color, and sharpness. It also has a community where you can share your creations.
- Adobe Lightroom Mobile (Free Version): The industry-standard mobile app for professional photo editing. The free version is incredibly powerful, allowing you to adjust lighting (exposure, contrast, highlights, shadows, whites, blacks), color (temperature, hue, vibrance, saturation, HSL color mixing), detail (sharpening, noise reduction), and optics. It also includes free presets and an excellent photo organization tool.
- Canva: Although primarily a graphic design tool, Canva also offers useful photo editing features for social media. You can make quick adjustments, apply filters, add creative text, and, most importantly, use its thousands of templates to adapt your photos to specific formats for Instagram Stories, Facebook posts, YouTube thumbnails, and more.
To avoid getting lost among so many options, it's helpful to follow a basic workflow. We suggest the "PERCA" method (Perspective, Exposure, Crop, Color, Finish), a simple acronym to help you remember the essential steps:
- P – Perspective and Straightening:
- Straighten: Is the horizon drooping? Do the vertical lines of a building look crooked? Use the straightening and perspective correction tools to make your photo look balanced.
- Rotate/Flip: Sometimes a small rotation or flipping the image horizontally can improve the composition.
- E – Exposure and Contrast:
- Overall Exposure: Adjusts the overall brightness of the photo.
- Contrast: Modifies the difference between light and dark areas.
- Highlights and Shadows: Recovers detail in very bright areas (highlights) or very dark areas (shadows).
- Blacks and Whites: Defines the whitest and blackest points in the image to give it more punch.
- R – Crop and Reframing:
- Improve Composition: Remove distracting elements from the edges or reframe to better apply the rule of thirds.
- Adapt to Formats: Crop the image to the appropriate proportions for the social network where you will be publishing it (e.g. 1:1 or 4:5 for the Instagram feed, 9:16 for Stories or TikTok).
- C – Color:
- White Balance (Temperature and Tint): Corrects unwanted color casts (very yellow or very blue photos). Temperature adjusts between warm (yellow/orange) and cool (blue) tones. Tint adjusts between green and magenta tones.
- Vibrance and Saturation: Vibrance increases the purity of less saturated colors more subtly, while saturation affects all colors equally. It's best to be cautious with saturation to avoid unrealistic colors.
- HSL (Hue, Saturation, Luminance per color): More advanced tools (available in Lightroom Mobile or Snapseed) allow you to adjust each color individually.
- A – Finish (Sharpness and Noise Reduction):
- Sharpness (Focus): Apply a little sharpening to make details pop, but don't overdo it or you'll create halos and an artificial look.
- Noise Reduction: If your photo was taken at a high ISO and is grainy, noise reduction tools can help smooth it out. This workflow gives you a solid foundation. With practice, you'll develop your own method and know what adjustments each photo needs.
Filters and presets are hugely popular on social media because they allow you to apply a complex look to a photo with a single click, helping to create a cohesive aesthetic.
- What Are They?: A filter is a combination of adjustments (color, contrast, etc.) that alters the appearance of a photo. A preset is similar, but the term is more commonly used in apps like Lightroom, where you can save your own sets of adjustments or download those created by other creators.
- Advantages: They save time, help unify the style of your feed, and can inspire you to try different looks. The use of filters is one of the features that often makes an Instagram image recognizable at first glance.
- Precautions:
- Don't Overuse: The "overzealous processor" error is often caused by overly aggressive filters that make the photo look artificial, with strange colors or loss of detail.
- Adjust the intensity: Most apps allow you to adjust the intensity of the filter. 100% isn't always the best option.
- Choose Consistently: Don't use a different filter for every photo if you're looking for a harmonious feed. Choose one or more that share a similar aesthetic.
- A Filter Can't Save a Bad Photo: A filter can improve a good photo, but it will hardly turn a poorly exposed or out-of-focus photo into a masterpiece.
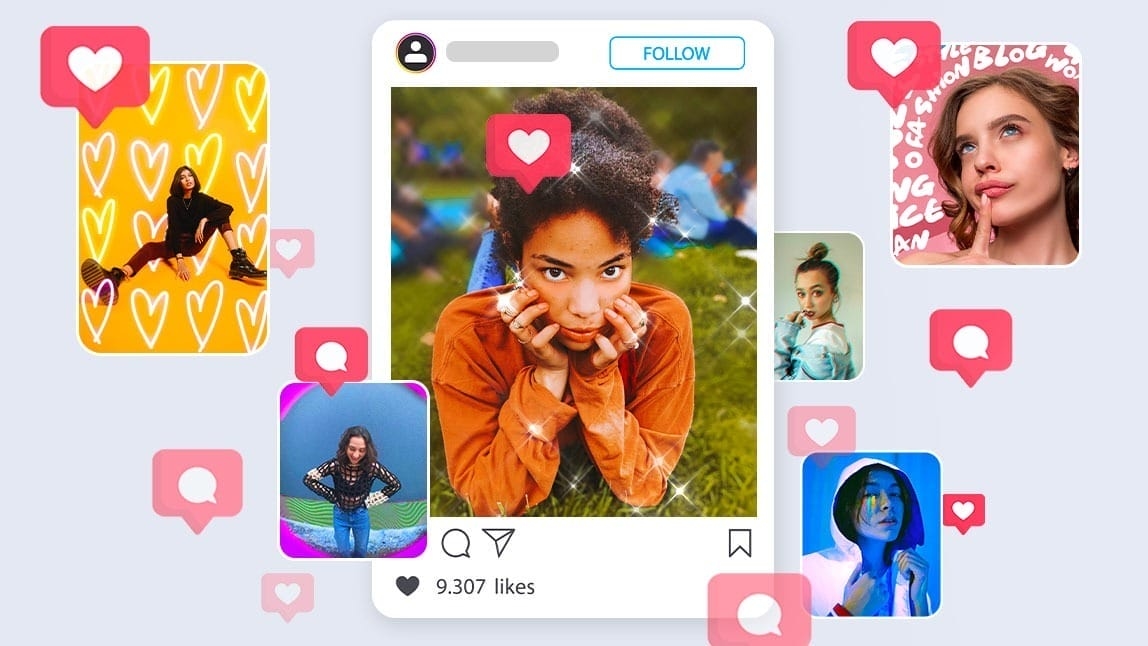
Beyond editing individual photos, to make a real impact on platforms like Instagram, it's crucial to consider the overall look of your feed. A cohesive aesthetic makes your profile look more professional, engaging, and memorable.
- Choose Your Style: Do you prefer a light and airy look, a dark and moody look, a vibrant and colorful look, or a minimalist and monochromatic look? Define a color palette or style that speaks to you.
- Consistency in Editing: Use the same presets or a similar set of adjustments for most of your photos. This doesn't mean all photos should be identical, but they should share a visual "feel."
- Plan Your Content: Before posting, visualize how the new photo will look next to your previous ones. Apps like Planoly, Preview, or UNUM allow you to organize your Instagram feed in advance.
- Quality over Quantity: It's better to post fewer, well-edited and coherent photos than many disparate, low-quality photos. Developing your own style is a process that takes time and experimentation, but it's a fundamental step to standing out.
Follow us on our X La Verdad Noticias profile and stay up to date with the most important news of the day.

La Verdad Yucatán


